
How To Make A Scented Candle

Making a scented candle at home is a simple, satisfying project once you have the right materials and a little patience. A good candle depends on more than wax and fragrance. The container, wick size, melting temperature and cooling time all affect how well the finished candle burns and how neatly it presents. Freeman & Harding supplies practical glass packaging for makers who want their candles to look professional and perform well.
Our guide takes you through the basic process for making a scented candle. It is designed for beginners, small-batch makers, and anyone testing a new product idea before moving into larger production. Always check the guidance supplied with your chosen wax and fragrance oil, as exact temperatures and ratios can vary.
Materials You Will Need
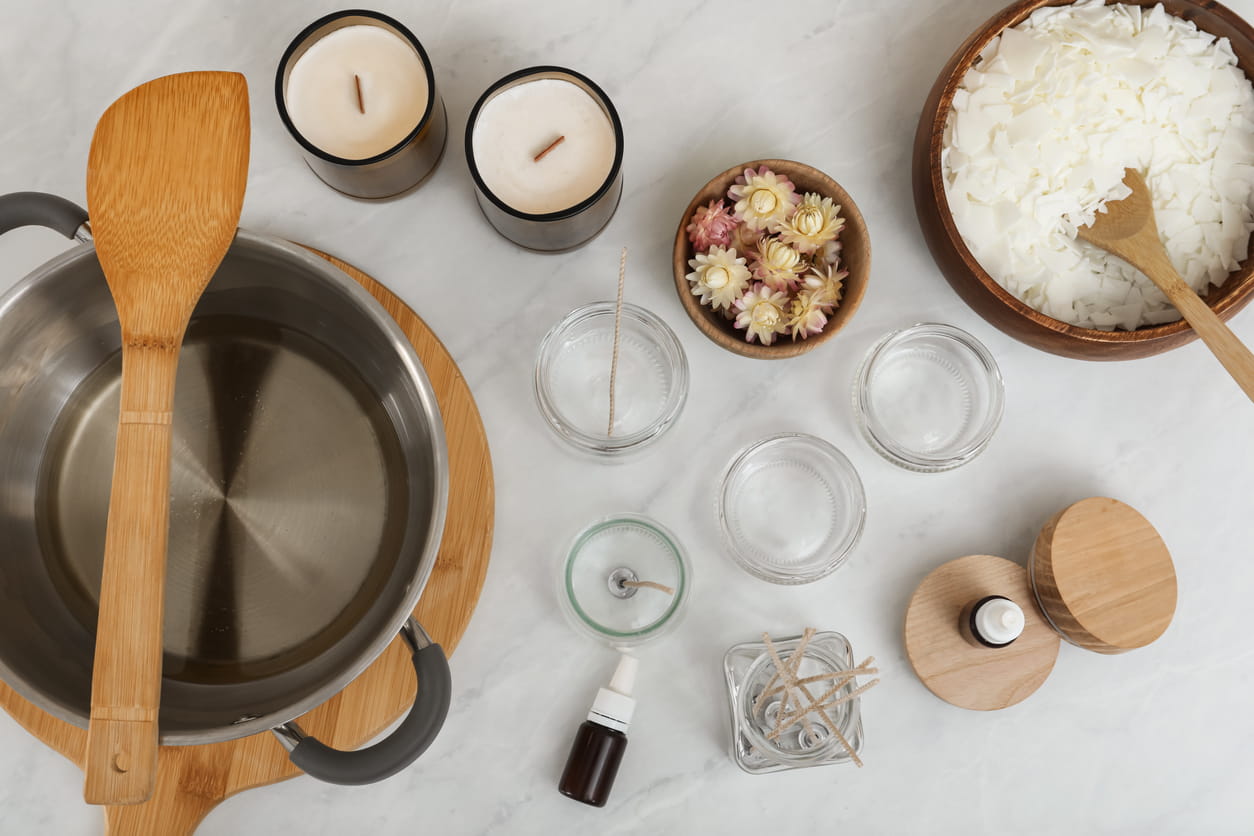
Before you begin, set out your equipment on a clean, level surface. Candle making is much easier when everything is ready before the wax starts to melt. To begin, you will need:
-
Candle container or glass jar
-
Candle wax, such as soy wax or rapeseed wax
-
Candle wick suitable for your jar diameter
-
Wick sticker or glue dot
-
Wick centring tool or peg
-
Fragrance oil suitable for candles
-
Digital scales
-
Heatproof pouring jug
-
Saucepan for double boiler method
-
Thermometer
-
Stirring spoon
-
Kitchen roll or cloth
-
Protective gloves
A common starting point is 80-90 g of wax for a small 100 ml jar, though this depends on the wax type and the size of your container. Fragrance is usually measured as a percentage of the wax weight. For many waxes, 6% to 10% fragrance oil is typical, so 500 g of wax may need around 30 g to 50 g of fragrance oil.
Good preparation helps reduce waste and gives a neater finish. If you are moving beyond one-off batches, the wider Freeman & Harding packaging range can help you keep your containers and closures consistent as your candle-making grows.
Step 1: Prepare Your Containers
Start by checking each container is clean, dry and free from dust. Any moisture or residue inside the jar can affect the candle's finish, so wipe the inside with a clean cloth if needed. Place the jars on a flat, heat-safe surface where they can stay undisturbed while the wax cools.
Fix the wick to the centre of the base using a wick sticker or suitable adhesive. The wick should stand straight in the middle of the jar, as an off-centre wick can cause uneven burning. A well-chosen container matters here, so it is worth using reliable candle jars that suit the size, style and burn profile of the candle you want to make.
Steph 2: Weigh & Melt Your Wax
Weigh your wax using digital scales. Accurate weighing is important because it helps you calculate the fragrance load correctly. As a guide, a 200 ml container may need roughly 160 g to 180 g of wax, though it is sensible to test with water first if you are using a new jar size.
Melt the wax gently using a double boiler. Place the wax in a heatproof jug or bowl, then sit it over a saucepan of simmering water. Do not put wax directly over a high heat. Most container waxes melt at around 50°C to 70°C, though you should always follow the wax supplier’s instructions.
Step 3: Add Your Fragrance
Once the wax has fully melted, remove it from the heat and allow it to cool slightly if required by your wax instructions. Many fragrance oils are added at around 60°C to 70°C, though the correct temperature can vary. Adding fragrance at the right stage helps it bind properly with the wax.
Measure your fragrance oil by weight, not by guesswork. For a 500 g batch of wax at an 8% fragrance load, you would add 40 g of fragrance oil. Stir slowly for around two minutes, keeping the movement steady rather than vigorous. Too much stirring can introduce air bubbles.
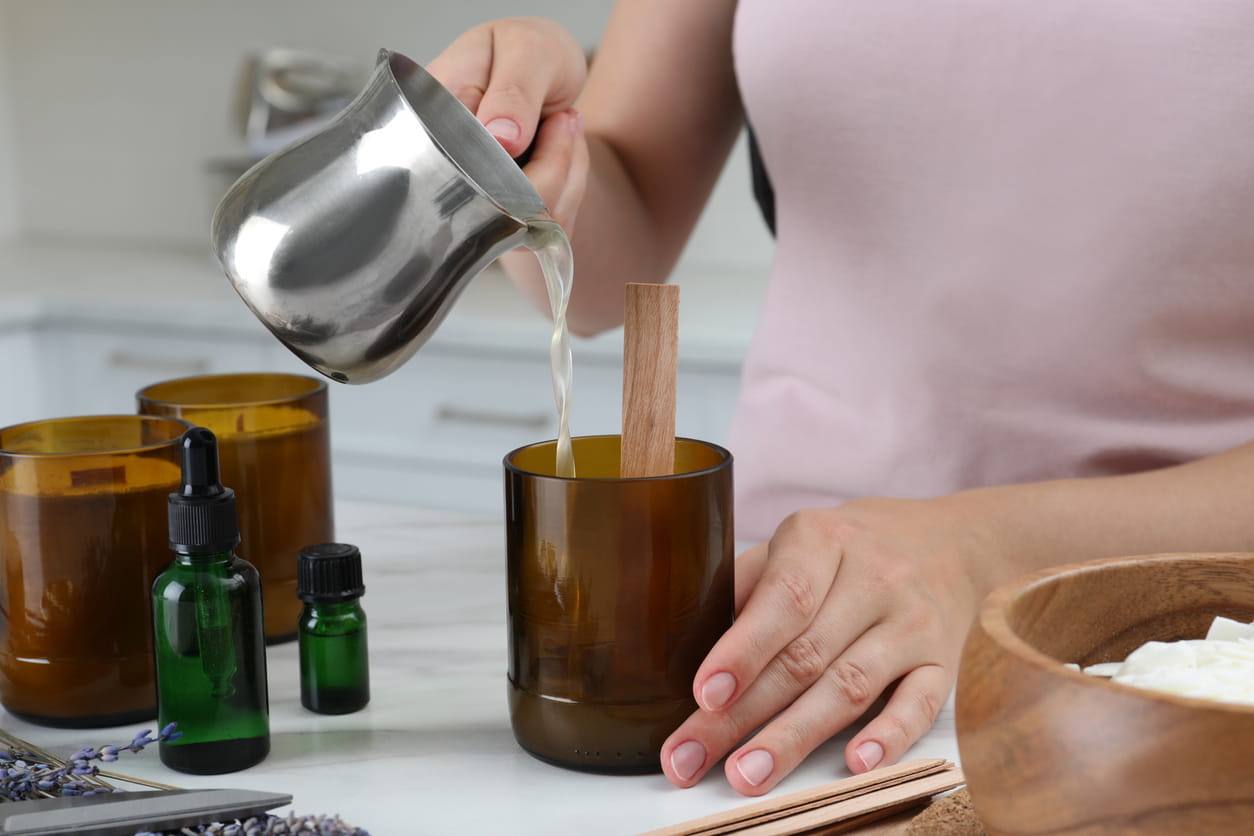
Step 4: Pour & Cool
Pour the scented wax into your prepared containers slowly. Aim for a smooth, steady pour and leave a small gap at the top of the jar. Avoid filling right to the rim, as candles need a neat headspace for safe use and a better finished appearance.
Keep the wick centred while the candle cools. A peg or wick bar can help hold it in place. Let the candles cool at room temperature and avoid moving them too soon. For regular production, ordering bulk jars can help keep each batch consistent and make it easier to manage stock.
Step 5: Set & Cure
Once the wax has hardened, trim the wick to around 5 mm. A tidy wick helps the candle burn more evenly when it is first lit. Check the candle's surface for sinkholes or cracks. Small imperfections can sometimes be corrected with a careful heat gun, though it is best to test your process before making larger quantities.
Curing time allows the fragrance to settle into the wax. Some candles can be used after 24 to 48 hours, while soy wax candles are often better after one to two weeks.
Shop Candle Jars At Freeman & Harding Now
A good scented candle starts with a dependable container. Freeman & Harding offers a practical choice of candle jars for home makers, small businesses and growing brands that need reliable packaging with a clean finish. Browse the range, choose the jar style that suits your product, and get your next candle batch ready for pouring.
Comments : 0